

There is something exciting about your kid’s transition from one developmental stage to the next, especially when they change from baby to toddler. Now they can walk and have outgrown their cot, it’s time to think about turning that nursery into a big kid room. Before going any further, be forewarned it won’t be long before you will be turning the same bedroom into a bedroom fit for a teen. But for now, let’s focus on how to turn that nursery into a big kid room.
Step by Step Guide to Creating a Kids Bedroom for Your Toddler
Redecorating an entire room can be a daunting task, especially for single parents who will likely need do the work whilst baby is sleeping. But whilst it sounds like a lot of work, it can be done over week or a month, depending on how much time you can free up for DIY and shopping. And it doesn’t have to feel overwhelming: Tackle the project with our step by step guide and create a big kid room for your little one in no time:
1. Empty the Room of Everything
When we say everything, we mean absolutely everything. Move that cot into another room whilst you are redecorating because baby needs calm and quiet and breathing in dust and paint fumes can be harmful for young children and parents and you don’t want it to linger in fabrics. So, to avoid extra work, such as washing the curtains, soft toys, and sofa cushions, remove them from the room. Once you have taken out all furniture, soft furnishings, clothes, and toys the fun begins.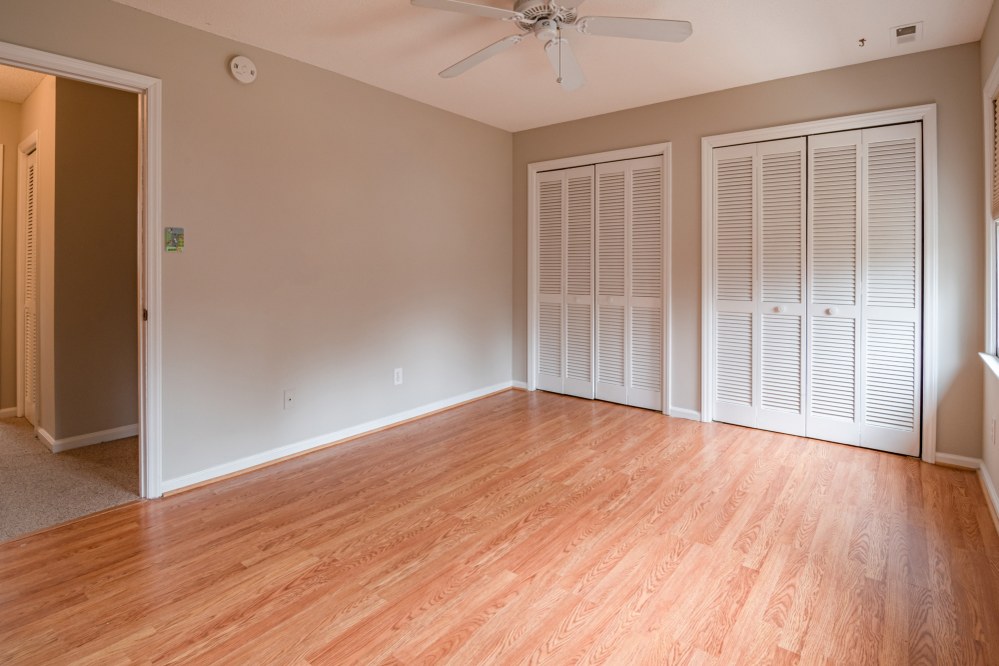
2. Protect Floors and Windows
The next step is to consider what you will be doing with the flooring. If you intend to keep the same flooring as you have down at the moment, it is vital at this stage to cover it and tape it down securely. If you will be drilling, sanding, painting, or hanging wallpaper, it is imperative that you protect your floor covering or you will be replacing that as well. If you are considering changing the floor, choose a durable and simple to clean flooring that is warm underfoot. Laminate flooring is ideal for families giving you all these benefits and more.
It’s highly advisable to protect your windows in the same way: Use masking tape along the perimeter of the glass so that no wall or window paint splashes on the edges. Paint can be removed, but it can be is a tedious job. Therefore, it’s worth lining windows, doors, and floors. By preparing your kids bedroom for the work ahead, you avoid extra labour later.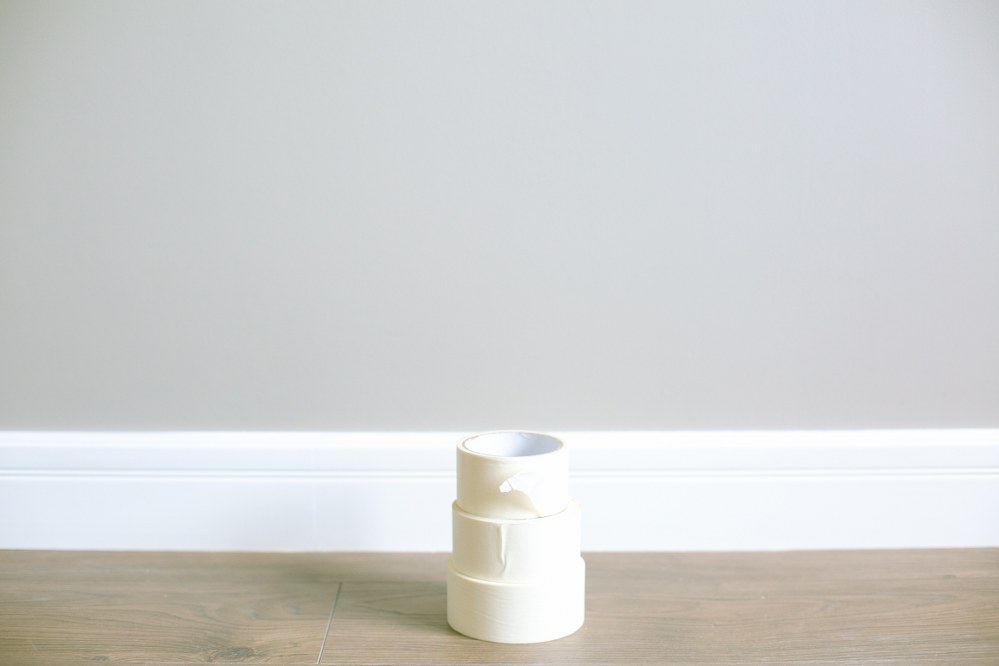
3. Prepare the Walls
Once you’ve laid down all the protection for the floor and windows, it’s time to start preparing those walls. Since most nurseries have decals on the walls, make sure they are removed. Now it’s time to patch up the walls, and sand them down where needed. However, don’t put that sander away just yet. You are likely to need it after the next step is complete.
4. Commission Electrical Work Happens
This is where parents really need to think well into the future. Doesn’t it seem like only yesterday that you brought that little bundle of joy home from the hospital? The next few years will fly by just as quickly, so, to lighten your load later, think about where your school age kid will be doing their homework. Will they need a computer or laptop? Do you have sufficient plug sockets for all the electrical equipment and gadgets that your growing child will undoubtedly need? Does he or she need a reading lamp by the bed or desk? Now is the time to install new light fittings and add new sockets in strategic places where they will not be covered by furniture. With that said, it is a legal requirement to get a qualified electrician for this type of work. You can find someone in the area who is a qualified and/or certified electrician.
5. Start decorating
Once the electrician has done his work, you will need to sand down and where necessary fill any chips and deep scratches in the wall before sanding them down in preparation for painting. If you decide to do a bi-level wall i.e. painted at the top and either wallpaper or wood panelling at the bottom, be sure to paint first, so the wood panelling or wallpaper do not get paint splashes on them. You won’t believe how many parents do the chair rail first in their excitement to see the new look! Save yourself the hassle of covering the rail or even having to replace it by painting he upper parts of the walls first.
If your family home had issues with mould in the past, or if you want to be on the safe side, you could use a primer to cover up any discolouration and seal any damp. This will also help to prevent black mould during humid weather. Not only will primer help protect the final coat of paint from issues later down the line, but it also gives your walls a more refreshing flawless look.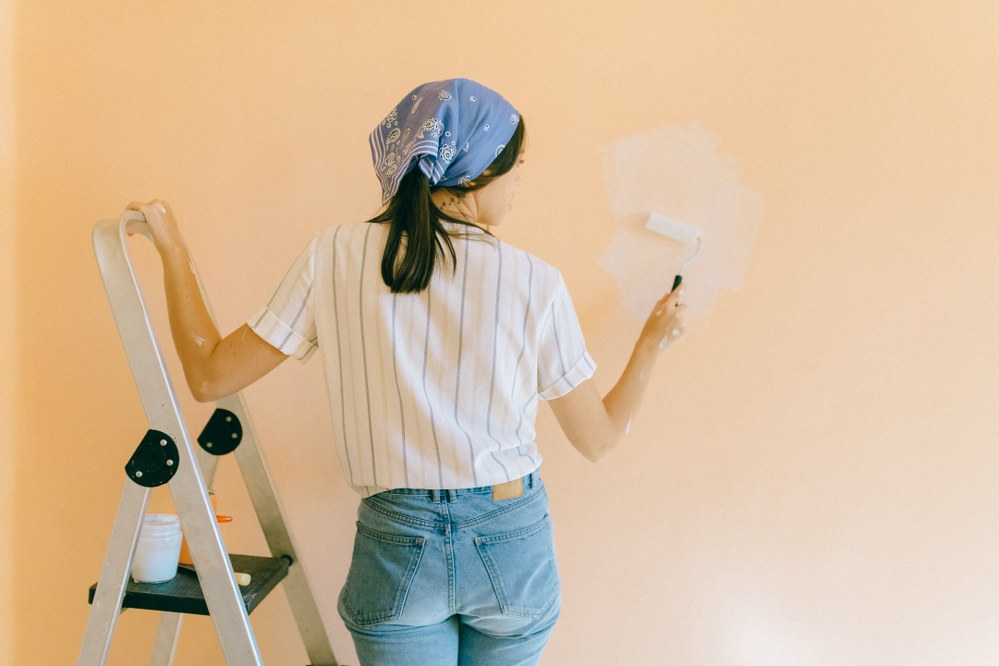 Ready to paint? Choose soothing neutral colours if you do not want to repaint in years to come. Baby pink is usually just a phase! A great way to let your kids be creative is to use chalkboard paint for one of the walls. Whilst paint today is generally considered nontoxic, go for eco-friendly products that have low or zero VOC to protect your child’s health.
6. Air the Room
VOC paint or not, you will still want to air the room air for at least 48 hours before commencing further work. The smell alone can be nauseating, especially for young kids. This also gives any painted surfaces or glue time to thoroughly dry. Once dry, you can safely put any switch or socket covers back on without marring the finish.
To help any fumes to dissipate, close the door to your kid’s bedroom, open the windows and keep at least one fan blowing in the room. In the wintertime when the air is more humid, you may want to use a dehumidifier once you’ve closed the windows.
7. Bring in the “Big Kid” Furniture
Perhaps the only piece of furniture you will need to purchase is a toddler size bed. However, many families skip that stage and move right onto a single bed, mid sleeper, or bunk bed that will last your kids for many years. Don’t forget the importance of a good mattress for kids. As for furniture, you will probably want a small desk where your child can colour and draw and do all sorts of crafts (and later homework). Where you once had a changing table for your infant, you can now place a chest of drawers. There are several ways you could approach toy storage, but one of the trendiest and certainly practical ways at the moment are cube storage and tray storage units.
Once your son or daughter ‘graduates’ to a bigger kid room, those toy storage units can easily be taken out and a bigger wardrobe or computer desk added. Think ahead, and create a cool and functional kid’s bedroom that will last many years, and is versatile enough to make the transition to teenage years easy.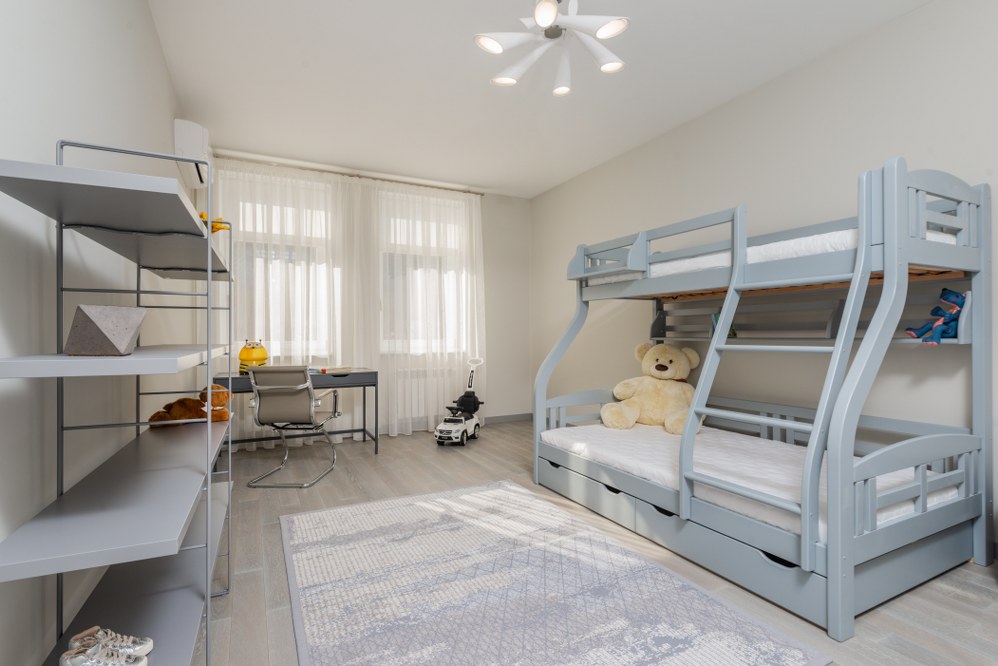
8. Window Treatments
If you want don’t want your children to wake up from the first rays of sunshine in the morning, you will need to find blackout blinds. Roller blinds are an economical, easy to clean solution that can block out the light completely if you use cassette and slide tracks. You can install these yourself although it is not the easiest DIY task. If you prefer the look and feel of curtains, you could of course go for curtains made from black out fabrics but beware that there is still a good chance of light entering the room depending on how the curtain pole is installed.
9. Soft Furnishings
Now it’s time to focus on the finishing touches and the most fun part for the creative parents amongst you. Soft furnishings and accessories can transform a room and make it cosy or cool, so add new bedding for the size bed you’ve decided on, a matching rug that might double up as a racetrack, soft blankets or throws where needed, a few cushions, and plush toys on shelves and beds. Soft materials give any room a cosy and warm feel and will turn your child’s bedroom into a relaxing space where they will want to retreat to and wind down after school.
There are many ways to turn a baby nursery into a big kids room – from a budget friendly makeover if your kid’s bedroom to a completely new bedroom with all the bells and whistles. The important thing is that your kid’s bedroom is personalised for them, so that they will look forward to spending time there and not feel like they are asked to sleep in an entirely unfamiliar space. If you ask them to help with the planning, to the degree they are able, and let them see the different stages of the transition, their big kid room will look and feel more like their own space – and that is exactly what you are trying to achieve!
About Single Parents on Holiday:
If you liked our post, please subscribe to our blog. To find out more about what we do, check out our holiday programme, which includes a whole range of holidays for single parents and their children as well as singles holidays for solo travellers without kids.


